Setup a kubernetes cluster on raspberry pi/s using k3s
This blog post will detail the steps for setting up a kubernetes cluster on your raspberry pi/s using k3s.
k3s: A brief introduction
While it is completely possible to install, manage and run a complete kubernetes distribution (pronounced k8s) on your raspberry pi cluster (or on similar devices), for better performance and resource utilization in a resource constrained device like raspberry pi its advisable to install a lightweight kubernetes distribution like k3s by rancher.
From k3s website:
K3s is a highly available, certified Kubernetes distribution designed for production workloads in unattended, resource-constrained, remote locations or inside IoT appliances.
K3s is packaged as a single <40MB binary that reduces the dependencies and steps needed to install, run and auto-update a production Kubernetes cluster.
Both ARM64 and ARMv7 are supported with binaries and multiarch images available for both. K3s works great from something as small as a Raspberry Pi to an AWS a1.4xlarge 32GiB server.

Prepare raspberry pi for k3s installation
Before we start installing k3s on raspberry pi we need to prepare it for the installation as follows:
Download Raspberry Pi Imager
Download the Raspberry Pi Imager from: https://www.raspberrypi.org/software/ choosing the version most appropriate for you. With Raspberry Pi Imager you have the option to install the desktop client or install it as a package for use with your linux cli.
For this article we will be using the desktop client version.
Format SD card
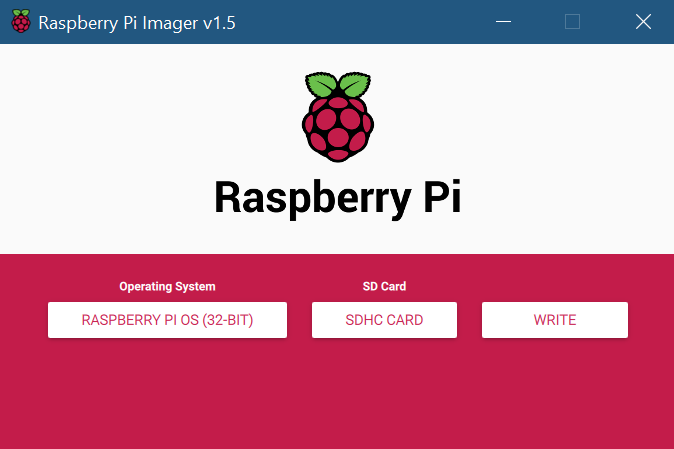
Insert the SD card in your computer and format the card using the erase option available with Raspberry Pi Imager.
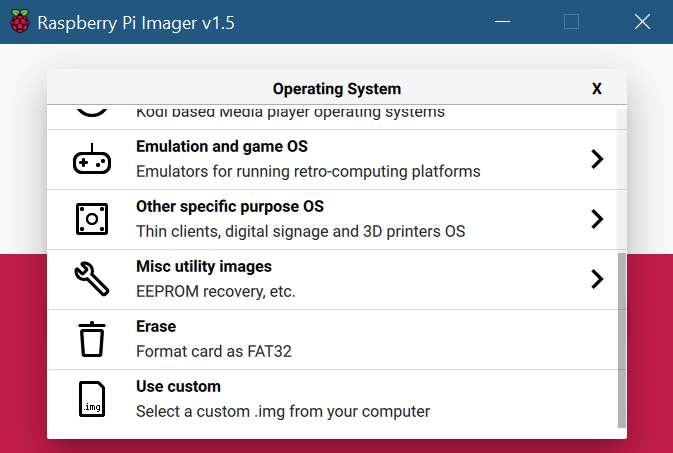
Install Raspberry Pi OS
With the formatted SD card still inserted in your computer, install the Raspberry Pi OS using the available option in the Raspberry Pi Imager. For k3s setup it is recommended to use the lite (headless) version of the Raspberry Pi OS instead of the full version.
It will take some time for the Raspberry Pi OS to be installed on your SD card.
After the installation is completed you can remove and reinsert SD card on your computer.
After reinserting the SD card you will see two partitions (or drives) in your computer: boot and rootfs (or SDHC in windows).
Enable SSH
In order to enable SSH on your raspberry pi create a file named ssh in the boot partition of your SD card.
sudo touch <path-to-boot-partition>/sshPower up and customize raspberry pi
Insert the SD card in your raspberry pi and power it up.
After the raspberry pi is up and running find the IP address assigned to the raspberry pi using the admin UI on your router and SSH into it.
ssh pi@<ip-address>The default password for pi user is raspberry.
Once you are logged in, you can change the various raspberry pi settings like password, hostname, localization, time zone, and wifi using the raspi-config utility:
sudo raspi-configSet up a static IP for your pi by updating the entry in the file /etc/dhcpcd.conf as follows:
interface eth0
static ip_address=192.168.1.50/24
static routers=192.168.1.1
static domain_name_servers=192.168.1.1
Reboot and ssh into the pi using the static IP address.
Enable container features in the kernel by editing the file /boot/cmdline.txt and adding the following to the end of the line:
cgroup_enable=cpuset cgroup_memory=1 cgroup_enable=memoryReboot the pi.
As an additional option you can use your existing ssh keys to login to rPi by copying over the ssh key using the following command:
ssh-copy-id pi@<ip-address>You can also generate a new ssh key using ssh-keygen utility. After copying over your ssh key you will no longer be prompted for a password while using ssh with your rPi.
By default the ssh-copy-id copies over the id_rsa.pub file. However you can specify a different ssh key using the -i flag as shown below:
ssh-copy-id -i .ssh/<other-key>.pub pi@192.168.1.50After the ssh key has been copied over to the rPi, you can login as follows using the specific key:
ssh pi@192.168.1.50 -i .ssh/<other-key>
Install k3s on rPi
Now that the raspberry pi has been prepared for k3s installation. We will proceed with the installation using one of the following option:
Using latest stable k3s release
Login to your master node rPi using ssh and install the latest stable version of k3s using the following command:
curl -sfL https://get.k3s.io | sh -After the installation is complete you can check the status of k3s using the following command:
sudo systemctl status k3sIf the status shows up as active (running) then k3s has been installed successfully.
From the master node copy the node-token from its location:
sudo cat /var/lib/rancher/k3s/server/node-tokenThis token will be used by the other nodes to join the k3s cluster.
Login to the other nodes and install k3s as follows:
export K3S_URL="https://<MASTER-NODE-IP>:6443"

export K3S_TOKEN="<TOKEN-COPIED_FROM-MASTER-NODE>"

curl -sfL https://get.k3s.io | sh -
You can check the status of k3s installation on the worker/agent nodes using the following command:
sudo systemctl status k3s-agentIf the status shows as active (running) then k3s is up and running on the worker nodes.
Login to the master node and run the following command to check the status of the nodes:
sudo kubectl get nodesThe command should output the master node along with all the worker nodes that have been added to the cluster.
If the above command returns an error or fails to run, then restart the k3s service as follows:
sudo systemctl restart k3sAlso for troubleshooting purpose its always helpful to analyze the outputs from the following commands:
sudo systemctl status k3s

journalctl -xe
For uninstalling k3s use the following commands:
//on server
/usr/local/bin/k3s-uninstall.sh

//on agent
/usr/local/bin/k3s-agent-uninstall.sh
Using k3sup
k3sup (pronounced ketchup) is a utility that simplifies the k3s installation process on both server and agent nodes. Also additionally k3sup allows you to export the k3s cluster configuration to your system so you can easily access your new cluster.
Also k3sup is helpful with installing apps in your cluster using yaml files or helm charts, however that is not covered in this article.
k3sup can be installed on your system via the following commands:
// install k3s binary
curl -sLS https://get.k3sup.dev | sh
sudo install k3sup /usr/local/bin/

// test k3s installation
k3s --help
You can install k3s on a rPi master node using the following commands:
// check the available options
k3sup install --help

// install using ssh key and merge to local context at the mentioned path
k3sup install --ip <MASTER-NODE-IP> --ssh-key ~/.ssh/<key-name> --user <user> --merge --local-path $HOME/.kube/config --context k3s-cluster
After k3s has been installed on the master node you can check the status of k3s using the following command:
kubectl get nodesThe above command should output master node as available and ready. Also before running the above command ensure that your new k3s cluster is set as the current context using the following command:
kubectl config current-contextNow we can proceed to install k3s on the worker (or agent) nodes using k3sup with the following commands:
k3sup join --ip <WOKER-NODE-IP> --server-ip <MASTER-NODE-IP> --ssh-key ~/.ssh/<key-name> --user <user>After k3s has been installed on the agent nodes, you can check the installation using the following command:
kubectl get nodesIt should output all the available and ready (both master and agent) nodes which are part of the cluster.
That’s all folks, k3s is installed and running on your raspberry pi and you can now install applications on your cluster.